The fastest path to seeing MCP work is Claude Desktop. This guide gets you from nothing to a working connection in four steps.
- 1
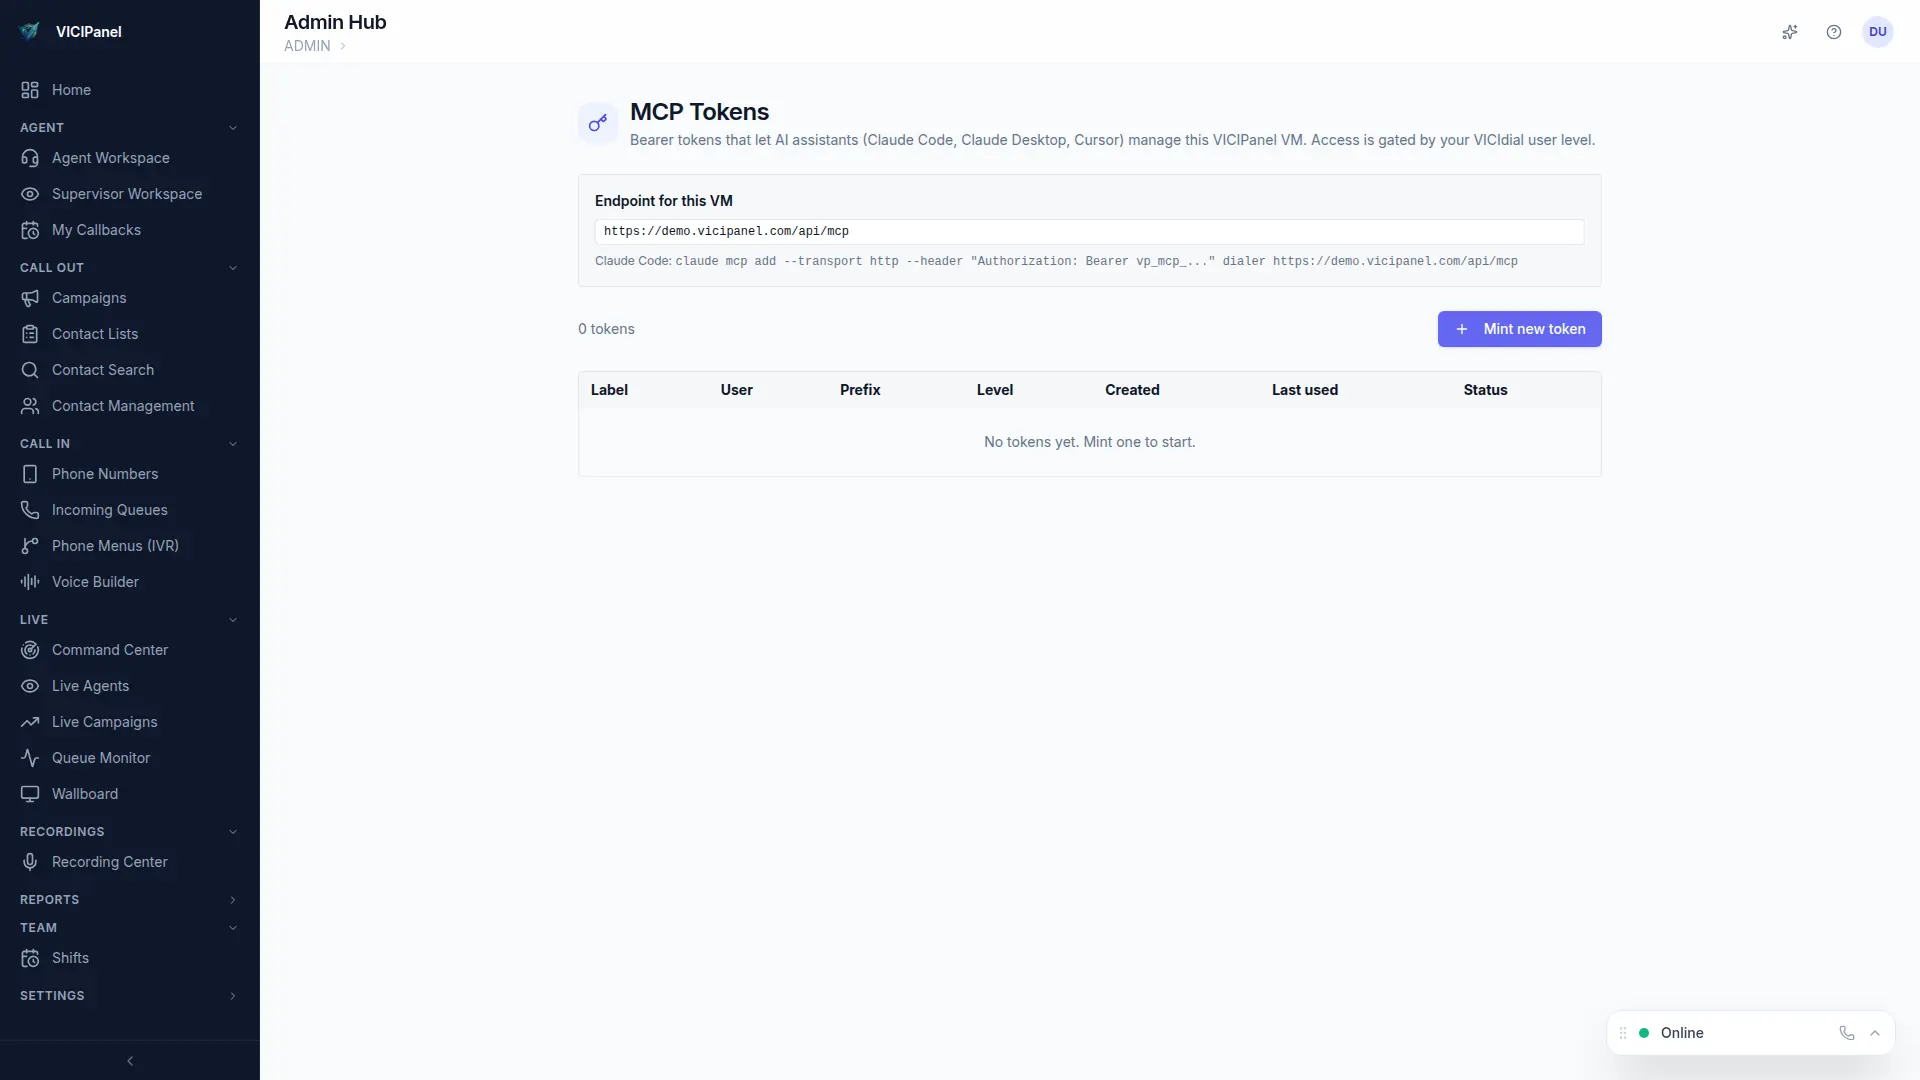
Generate an MCP token
In VICIPanel, go to Admin → MCP → Tokens → New token. Name it 'Claude Desktop local' and copy the resulting token. Tokens are prefixed with mcp_ and are shown once, save it immediately.
- 2
Install Claude Desktop
Download from claude.ai/download if you don't have it. Any recent version supports MCP.
- 3
Add the VICIPanel MCP server
In Claude Desktop Settings → Developer → MCP Servers → Add. The server URL is your tenant's /api/mcp endpoint. Auth mode: Bearer. Paste the token.
- 4
Try it
In a new chat, type: 'list my active campaigns'. Claude will call the list_campaigns tool and render the result inline.
The first time you run a tool, Claude Desktop will ask you to approve it. This is a one-time confirmation per tool, after that, Claude can use it freely within your token's permission scope.
What to try next
- "show me the agent wallboard", renders a live widget
- "how many sales in the last hour", filtered report
- "look up the CID decision for call ID 1234", deep ops diagnostic
- "what's my abandon rate trend this week", aggregated compliance view